Artifact Studio
The Spectro Cloud Artifact Studio is a unified platform that helps airgapped, regulatory-focused, and security-conscious organizations populate their registries with bundles, packs, and installers to be used with self-hosted Palette or Palette VerteX. It provides a single location for packs and images, streamlining access and management.
Use Cases
Use the Palette or VerteX Management Appliance or Helm chart to instantiate or upgrade your self-hosted environment.
Additionally, if you are using an airgapped environment, you can browse all available packs and download only the
components you wish to use. The integrity and authenticity of all bundles and ISOs downloaded from Artifact Studio can
be validated via signatures. These artifact bundles replace the self-extracting binaries we create for airgapped
environments with a more familiar Zstandard compressed format (zst) that can be moved and manipulated with the Palette
CLI.
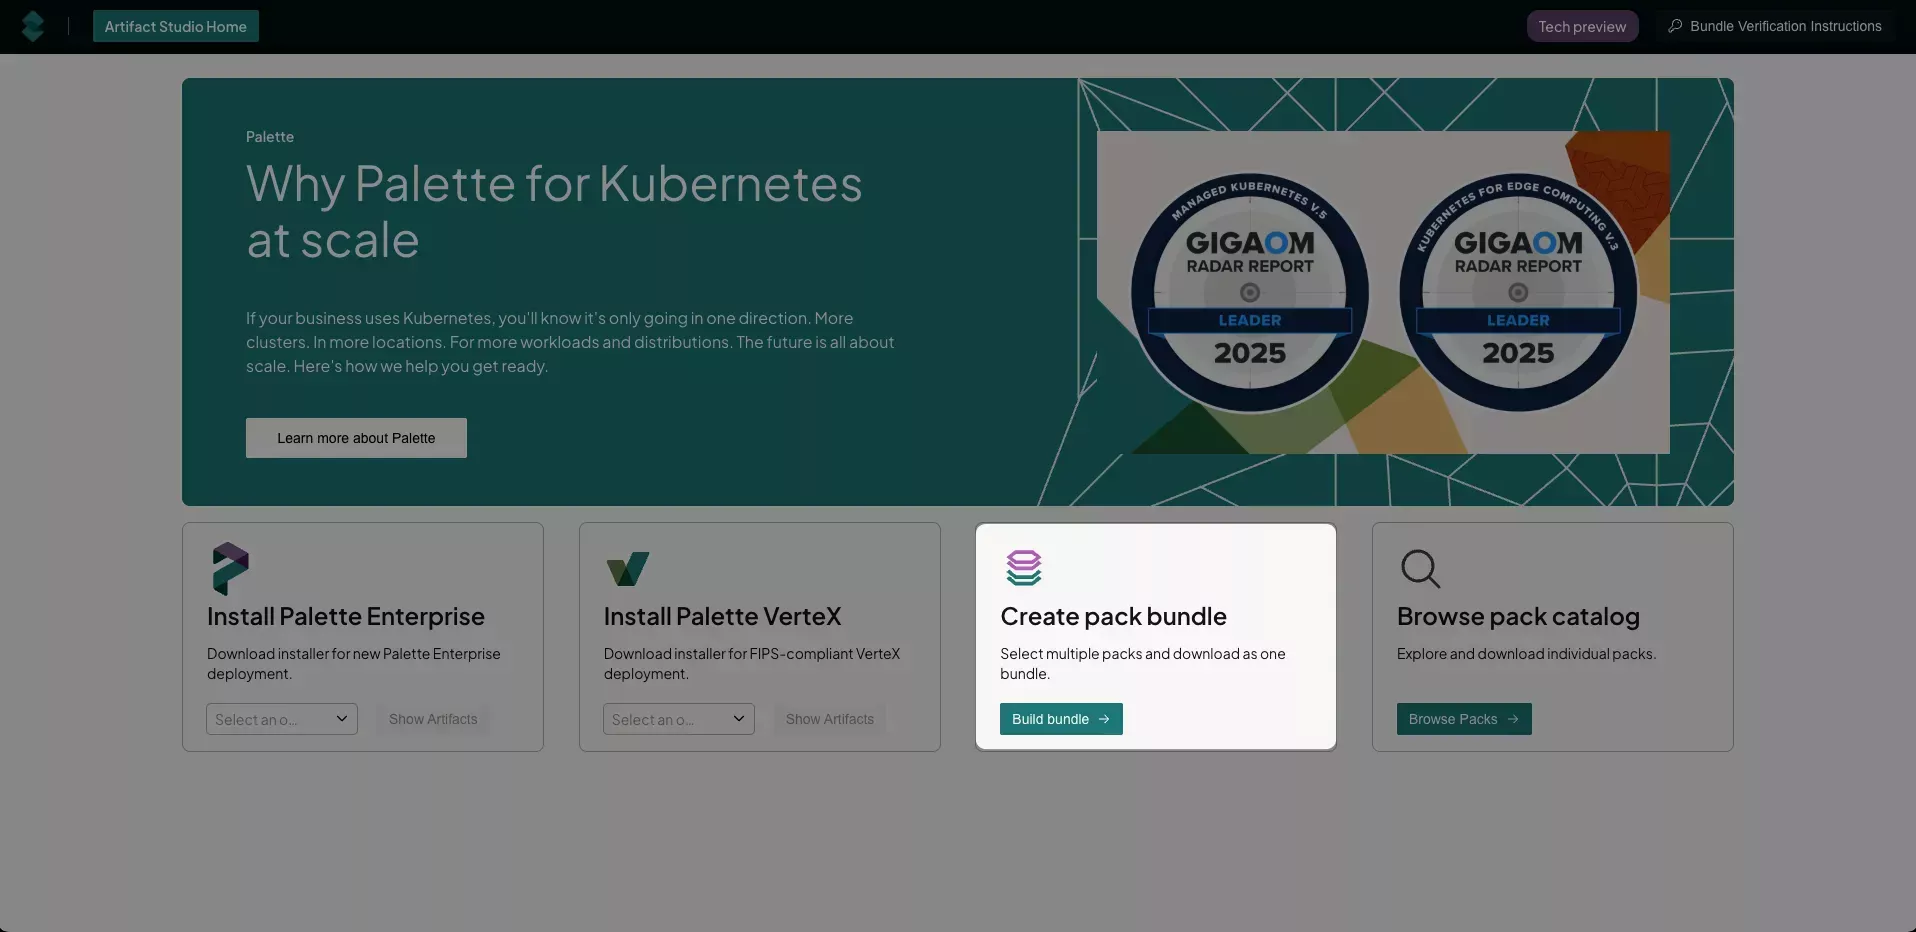
There are four main artifact areas:
- Install Palette Enterprise (content bundle, ISO, or Helm chart).
- Install Palette VerteX (content bundle, ISO, or Helm chart).
- Create a pack bundle to download.
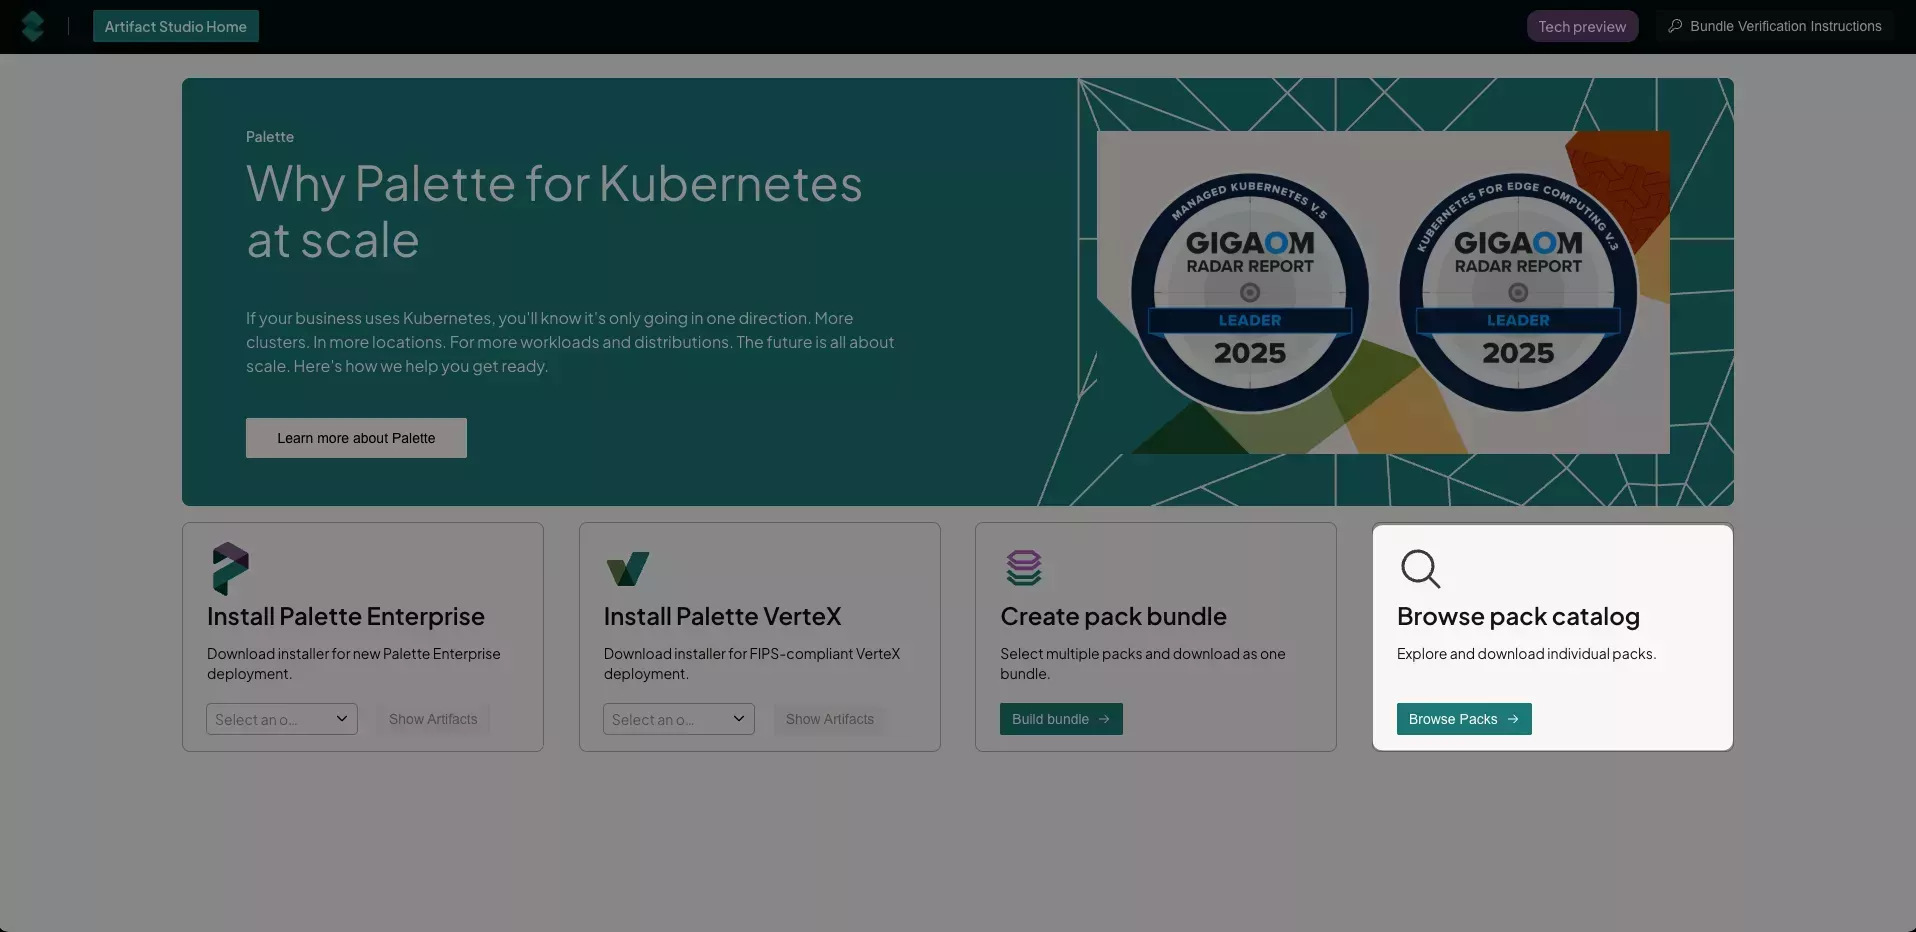
- Browse the pack catalog to download individual packs.
Download Palette Enterprise
-
Navigate to Artifact Studio.
-
In the Install Palette Enterprise section, use the drop-down to select the version needed, and select Show Artifacts.
-
Download the appropriate Content bundle, Palette management appliance ISO, or Helm installation that is applicable to your environment and use case.
Download Option Use Case Content bundle Used for traditional application install. A signature file ( sig.bin) is included with the ZST bundle.ISO Used to install from an ISO on a virtual machine, edge device, or bare-metal system. A signature file ( sig.bin) is included with the ISO file.Helm installation Used to install with Helm charts.
Once you have the file, you can deploy Palette as a self-hosted application. For ISO downloads, review the Palette Management Appliance Installation guide for more information on deploying Palette locally.
Download Palette VerteX
-
Navigate to Artifact Studio.
-
In the Install Palette VerteX section, use the drop-down to select the version needed, and select Show Artifacts.
-
Download the appropriate Content bundle, Palette management appliance ISO, or Helm installation that is applicable to your environment and use case.
Download Option Use Case Content bundle Used for traditional application install. A signature file ( sig.bin) is included with the ZST bundle.ISO Used for installation from ISO device in a virtual machine, edge device, or bare-metal. A signature file ( sig.bin) is included with the ISO file.Helm installation Used to install with Helm charts.
Once you have the file, you can deploy Palette VerteX as a self-hosted application. For ISO downloads, review the VerteX Management Appliance Installation guide for more information on deploying Palette VerteX locally.
Download a Pack Bundle
Agent mode binaries cannot be downloaded at this time.
-
Navigate to Artifact Studio.
-
In the Create pack bundle section, select Build bundle.
tipEnsure that pop-ups are enabled in your browser for Artifact Studio to allow for multiple artifact downloads.
-
On the Select Product page, select either Palette Enterprise Appliance or Palette Vertex Appliance.
-
On the Current Version page, select the version of Palette or Palette VerteX you want to install.
-
On the Use case page, select the use case for the bundle. The use case you select determines the options presented to you.
Use Case Definition Controller mode Download specific component packs for provisioning CAPI-based clusters on public clouds or data centers. Agent mode or Appliance mode Get required packages for deploying Kubernetes at remote edge locations. Add-on only Download supplementary tools and features to enhance your clusters.
- Controller Mode
- Agent Mode or Appliance Mode
- Add-On
-
Select the appropriate cloud type to deploy your cluster on. Public clouds include AWS, GCP, and Azure. Data centers include MAAS, OpenStack, and vSphere.
-
On the Configure bundle page, select the OS layer to begin building your bundle. Only the packs compatible with your previous selections are displayed. Choose an operating system and select Next Layer.
-
Choose your Kubernetes distribution and version and select Next Layer.
-
Choose your networking pack and select Next Layer.
-
Choose your storage pack and select Next Layer.
-
Add additional packs to your bundle as needed. When finished, select Add to Bundle.
-
Review your bundle. If any changes are needed, select the applicable layer, and add or remove packs as necessary. When finished, proceed to the Next Step.
-
Confirm that the bundle specifications and content are correct. If you need to make any changes, return to the applicable page using the left menu. To add additional packs, select Explore additional add-ons.
When finished, select the I'm not a robot reCAPTCHA checkbox, and select Download Bundle. Alternatively, you can Copy all URLs so that you can download the applicable files later in an alternate manner of your choosing, such as via
curl. -
The download begins. Each pack is downloaded as a ZST file with an accompanying signature file (
.sig.bin).
When you select Agent mode or Appliance mode, you are automatically taken to the Configure bundle page. An infrastructure type of Edge Native is assumed.
-
On the Configure bundle page, select the OS layer to begin building your bundle. Only the packs compatible with your previous selections are displayed in each layer. Choose an operating system and select Next Layer.
-
Choose your Kubernetes distribution and version and select Next Layer.
-
Choose your networking pack and select Next Layer.
-
Choose your storage pack and select Next Layer.
-
Add additional packs to your bundle as needed. When finished, select Add to Bundle.
-
Review your bundle. If any changes are needed, select the applicable layer, and add or remove packs as necessary. When finished, proceed to the Next Step.
-
Confirm that the bundle specifications and content are correct. If you need to make any changes, return to the applicable page using the left menu. To add additional packs, select Explore additional add-ons. When finished, select the I'm not a robot reCAPTCHA checkbox, and select Download Bundle. Alternatively, you can Copy all URLs so that you can download the applicable files later in an alternate manner of your choosing, such as via
curl. -
The download begins. Each pack is downloaded as a ZST file with an accompanying signature file (
.sig.bin).
-
When you select Add-on only, you are automatically taken to the Configure bundle page. Here, you can search for and select any packs you want to download. Select Next Step once you have selected your desired packs.
-
Confirm that the bundle specifications and content are correct. If you need to make any changes, return to the applicable page using the left menu. To add additional packs, select Explore additional add-ons.
When finished, select the I'm not a robot reCAPTCHA checkbox, and select Download bundle. Alternatively, you can Copy all URLs so that you can download the applicable files later in an alternate manner of your choosing, such as via
curl. -
The download begins. Each pack is downloaded as an individual ZST file (
<pack-name>.zst) with an accompanying signature file (<pack-name>.sig.bin).
To create additional bundles, select Artifact Studio Home in the top-left corner, and repeat the above process. For information on how to verify the authenticity and integrity of your bundles, refer to the Verify Signatures section.
Download a Specific Pack
-
Navigate to Artifact Studio.
-
In the Create pack bundle section, select Browse Packs.
-
On the left menu, choose any applicable pack filters, such as Product, product Version, Cloud type, and Layer type. Beside the search bar are additional filters: infrastructure type (AMD64 or ARM64), and FIPS compliance (FIPS or non-FIPS).
-
After you have applied any necessary filters, navigate through the list of packs. Use the Search bar to filter your results further.

-
When finished, select the I'm not a robot reCAPTCHA checkbox, and select Download Bundle. Alternatively, you can Copy all URLs so that you can download the applicable files later in an alternate manner of your choosing, such as via
curl. -
The download begins. Each pack is downloaded as an individual ZST file (
<pack-name>.zst) with an accompanying signature file (<pack-name>.sig.bin).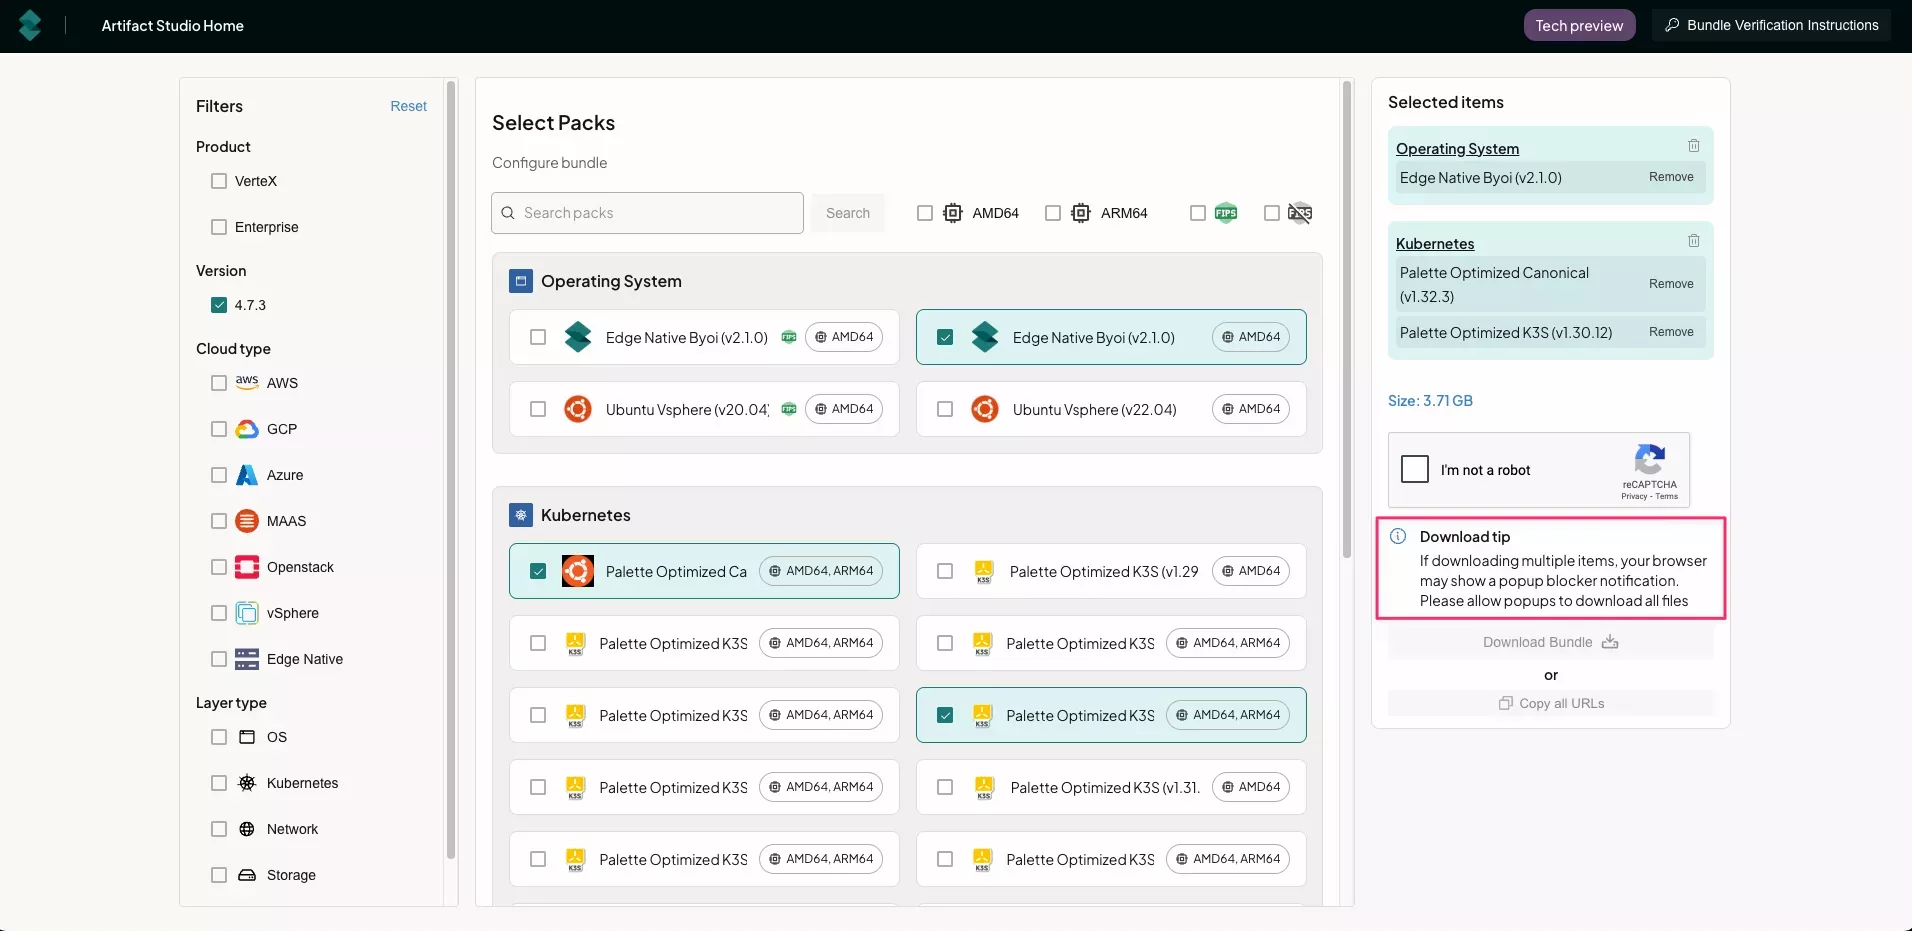 tip
tipEnsure that pop-ups are enabled in your browser for Artifact Studio to allow for multiple artifact downloads.
To download additional packs, select Artifact Studio Home in the top-left corner, and repeat the above process. For information on how to verify the authenticity and integrity of your bundles, refer to the Verify Signatures section.
Verify Signatures
All ZST bundles and ISO files downloaded from Artifact Studio are signed. An additional .sig.bin file accompanies each
artifact, which must be decrypted using Spectro Cloud's public key, spectro_public_key.pem. Images embedded within ZST
bundles that originate from a Spectro Cloud registry are also signed and can be verified using validation flows.
For additional information on how Spectro Cloud signs artifacts, refer to our Artifact Signatures guide.
Prerequisites
-
ZST bundles or ISO files installed from Artifact Studio with their accompanying signature files.
-
OpenSSL installed on the machine where the downloaded artifacts are located.
Enablement
To verify the integrity and authenticity of your artifacts, you can do a checksum verification of the files downloaded.
-
Navigate to Artifact Studio.
-
At the top right of the page, select Bundle Verification Instructions.
-
Download the public key file
spectro_public_key.pem. -
Use the appropriate command to verify the individual pack integrity, depending on the type of file downloaded.
- Content Bundle (TAR ZST)
- Management Appliance (ISO)
- Pack Bundle (ZST)
Replace
<bundle-name>with the name of the bundle.openssl dgst -sha256 -verify spectro_public_key.pem -signature <bundle-name>.tar.sig.bin <bundle-name>.tar.zstReplace
<management-appliance>with the name of the appliance.openssl dgst -sha256 -verify spectro_public_key.pem -signature <management-appliance>.iso.sig.bin <management-appliance>.isoReplace
<bundle-name>with the name of the bundle.openssl dgst -sha256 -verify spectro_public_key.pem -signature <bundle-name>.sig.bin <bundle-name>.zst -
A successful verification displays
Verification OK. -
Alternatively, if verifying the signature for a content or pack bundle, use the following sample script to check all files downloaded in the current folder. Substitute
REPLACE MEwith the path tospectro_public_key.pem.Sample script# This script verifies the signatures of data files against a public key.
# It expects files named like `datafile.zst` and corresponding signatures `datafile.sig.bin`.
# Ensure you have OpenSSL installed to run this script and that the public key is in PEM format.
# Ensure the script has execute permissions: `chmod +x verify-signatures.sh`
# Usage: ./verify-signatures.sh
#!/bin/bash
PUBKEY="REPLACE ME" # Enter path to public key file
for sigfile in *.sig.bin; do
# Strip `.sig.bin` to get base filename and corresponding data file
base="${sigfile%.sig.bin}"
datafile="${base}.zst"
if [[ ! -f "$datafile" ]]; then # Check if data file exists
echo "$datafile: ❌ Data file not found" # Skip to next iteration
continue
fi
# Run signature verification
if openssl dgst -sha256 -verify "$PUBKEY" -signature "$sigfile" "$datafile" > /dev/null 2>&1; then # Verify signature
echo "$datafile: ✅ Signature valid" # Print success message
else
echo "$datafile: ❌ Signature invalid" # Print failure message
fi
doneNext, grant the script execute permissions, and run the script.
chmod +x verify-signatures.sh
./verify-signatures.sh
The output should be similar to the following.
Example outputcni-calico-3.29.2.zst: ✅ Signature valid
csi-aws-ebs-1.41.0.zst: ✅ Signature valid
kubernetes-1.32.3.zst: ✅ Signature valid
spectro-k8s-dashboard-7.11.1.zst: ✅ Signature valid
ubuntu-aws-22.04.zst: ✅ Signature valid
Upload Packs to Management Appliances
For information on uploading packs to your self-hosted Palette or Palette VerteX instance, refer to the appropriate guide: